
1. Procedure Title
Name of the Process: YACSS Cloudstacking
2. Purpose
Brief Description: Cloud stacking in SEO refers to the practice of creating multiple web pages or content pieces targeting the same keyword or topic within a website. These pages are interconnected through internal links, forming a network or “stack” of content aimed at improving search engine visibility and driving organic traffic to the site.
3. Scope
Involved Areas: SEO, Web Design (Images to be used)
4. Responsibilities
Roles and Responsibilities: SEO: Create a set of cloudstacks for our clients that are targeting their landing/service pages
Web Design: Create images that will be used in Cloudstacking
5. Definitions and Key Terms
Glossary:
Cloud Stacking: The strategy of utilizing multiple cloud platforms or services to build and manage a network of websites.
Interconnected Websites: Websites that are linked together within a network, often created to manipulate search engine rankings.
Web Properties: Websites, blogs, or other online assets used for marketing or promotional purposes.
Search Engine Rankings: The position of a website in search engine results for specific keywords or phrases, which can impact its visibility and traffic.
6. Procedure Details
6.1. Preparation and Prerequisites
- Content with headers – 7 Variations of a content that is 1-2 paragraphs each
- Details such as GMB NAP, GMB link
- Images that are optimized to be 400kb or lower
- Social Links (e.g Youtube, Twitter, LinkedIn, etc)
6.2. Step-by-Step Procedure
Prepare Content and Images
- Content: Create 7 variations of content. Use web 2.0 stacks as a base, spin it, and expand.
- Images: Prepare 10-15 images plus the client logo. Resize each image to 400kb or below.
FOR MANUAL STACKS:
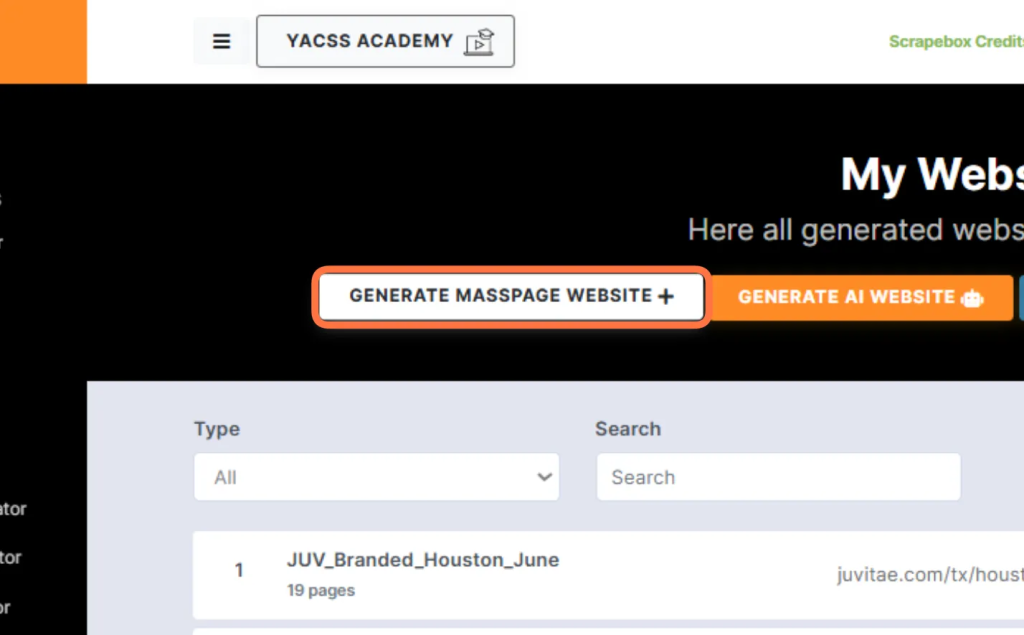
- Click Generate Mass Page Website
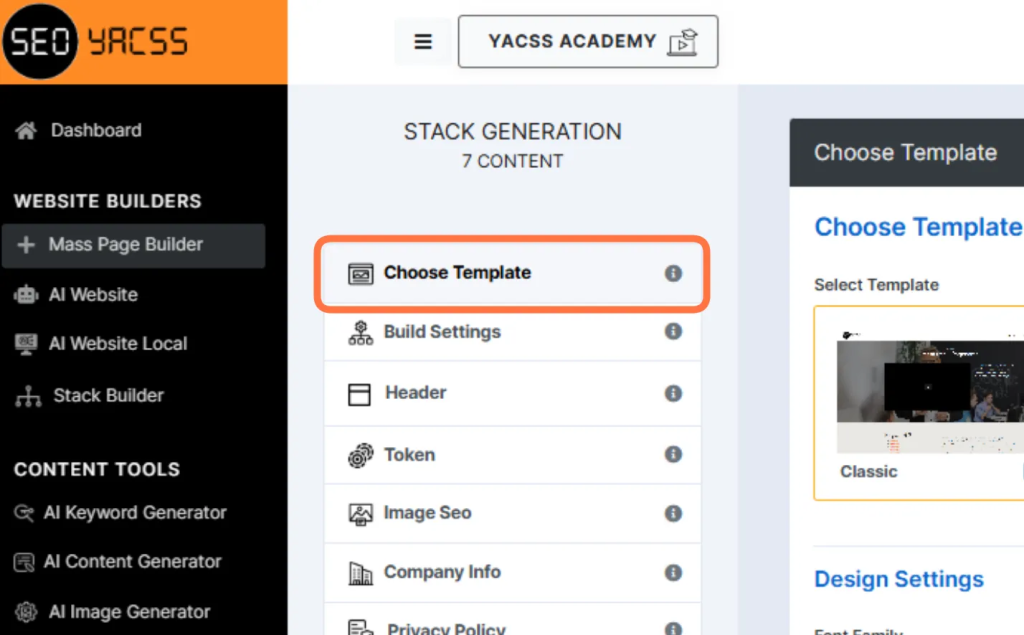
- Choose Template and Colors
- Go to the client’s website and choose colors that match their branding.
- Use colors for Primary, Secondary, and Footer areas.
- Go to Build Settings:
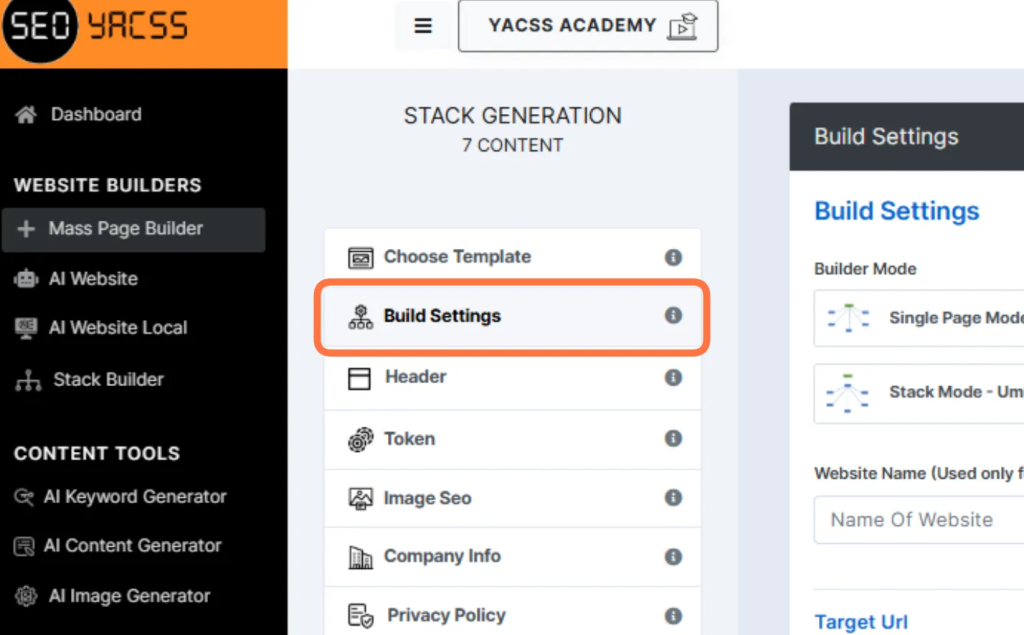
- Build Settings Configuration
- Builder Mode: Select “Link Wheel with Spokes”.
- Website Name: Format as ClientCode_CompanyName_TargetPage_MonthCreated (e.g., AS_AuthoritySolutions_SEO_February).
- Target URL: Enter the target page URL.
For the other settings, follow this:
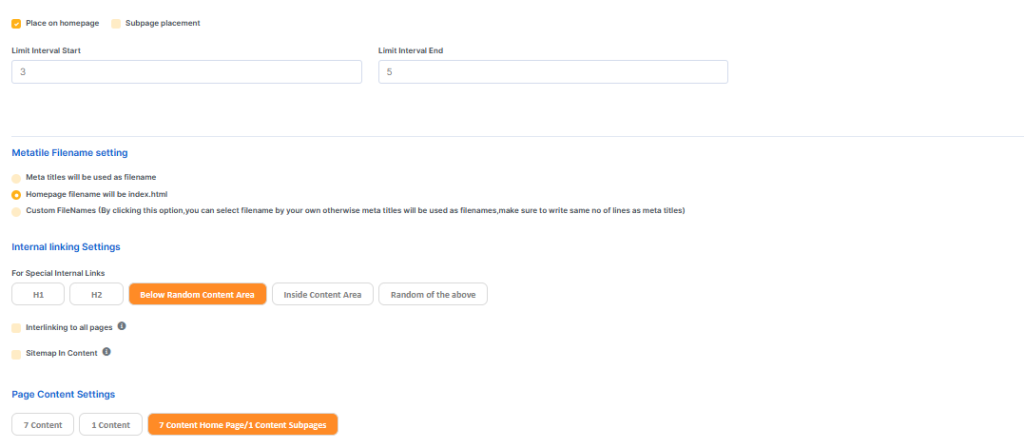
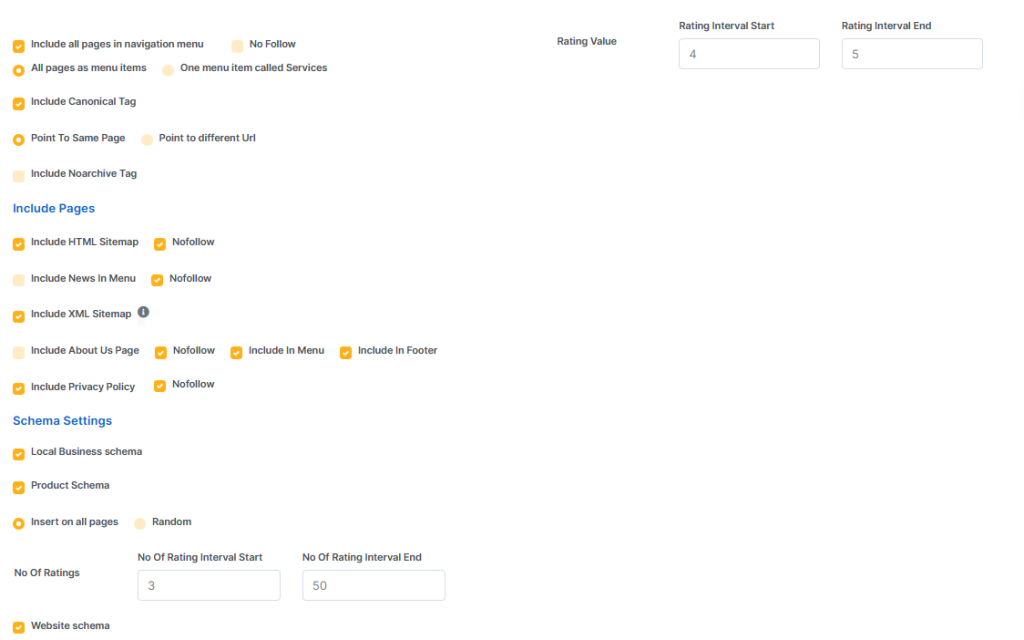
- Header/Build Settings:
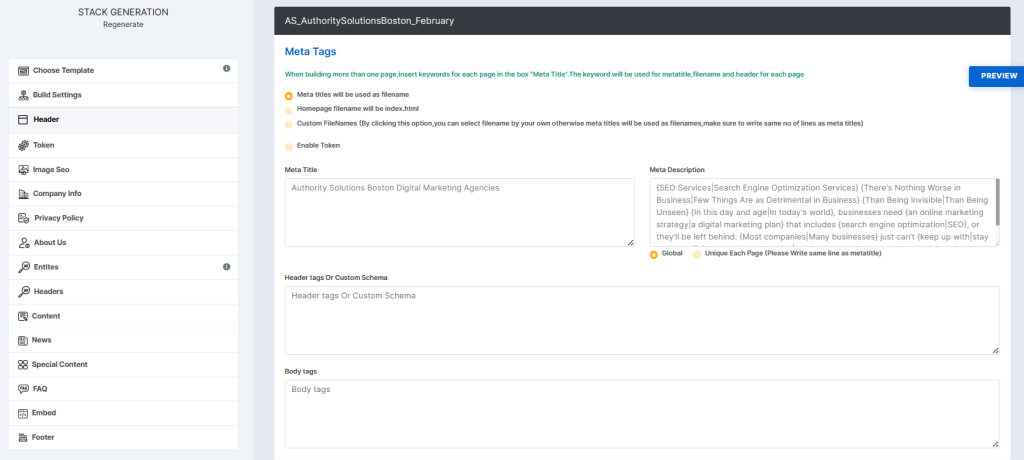
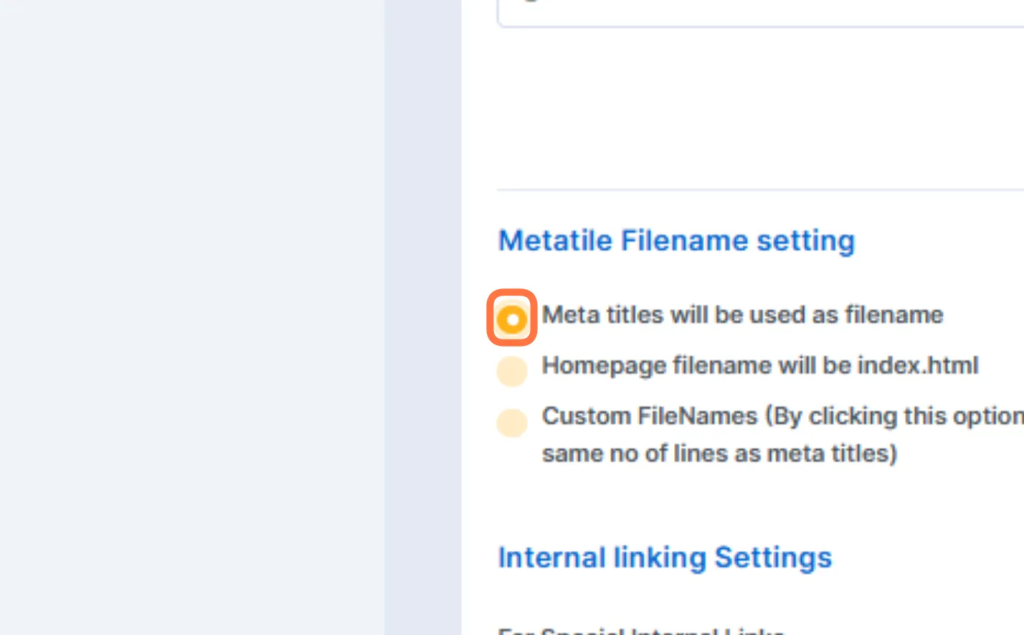
Header/Build Settings
- Meta Titles: Use keywords from the client workbook.
- Meta Description: Take the page’s meta description, put it in ChatGPT, and ask to “Rewrite this meta description into Spintax”.
- Image SEO section:
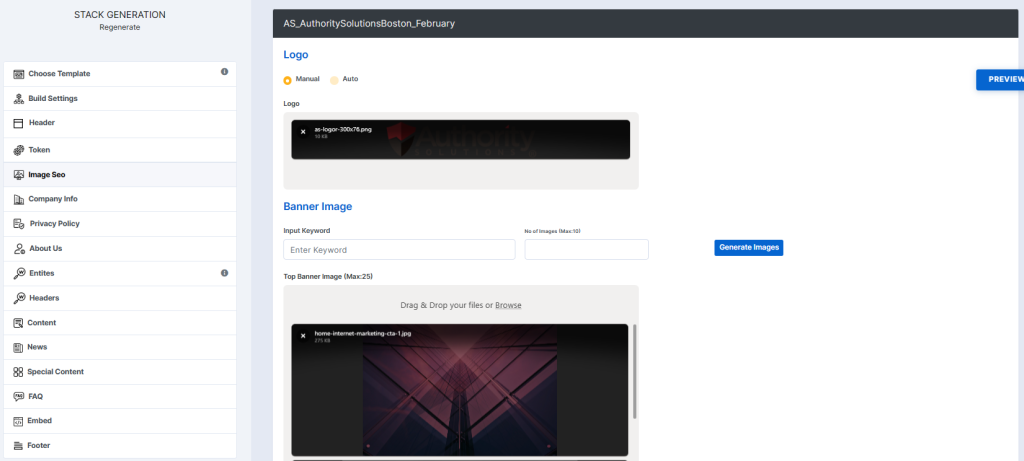
- Logo: Manually insert the client logo.
- Banner Image: No keyword to prevent overlap.
- Top Banner Image: Insert 10-15 images, as they will be randomly generated.
- Company info section:
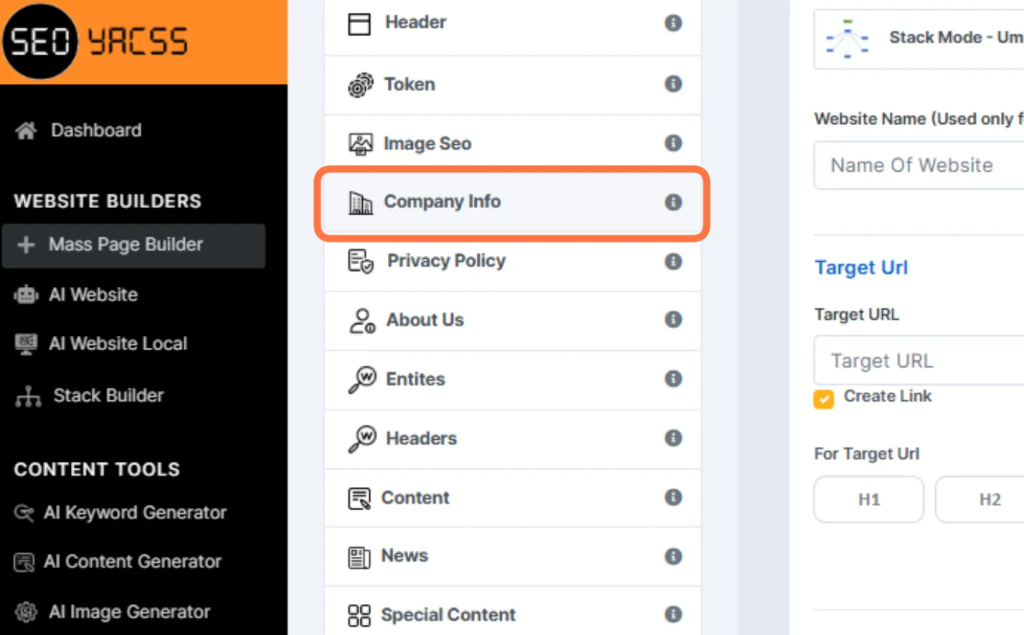
Provide straightforward information from the client workbook or confirm with their Google Business Profile (GBP).
GBP Area: Link with latitude and longitude.
Company Description: Get from GBP and convert to Spintax.
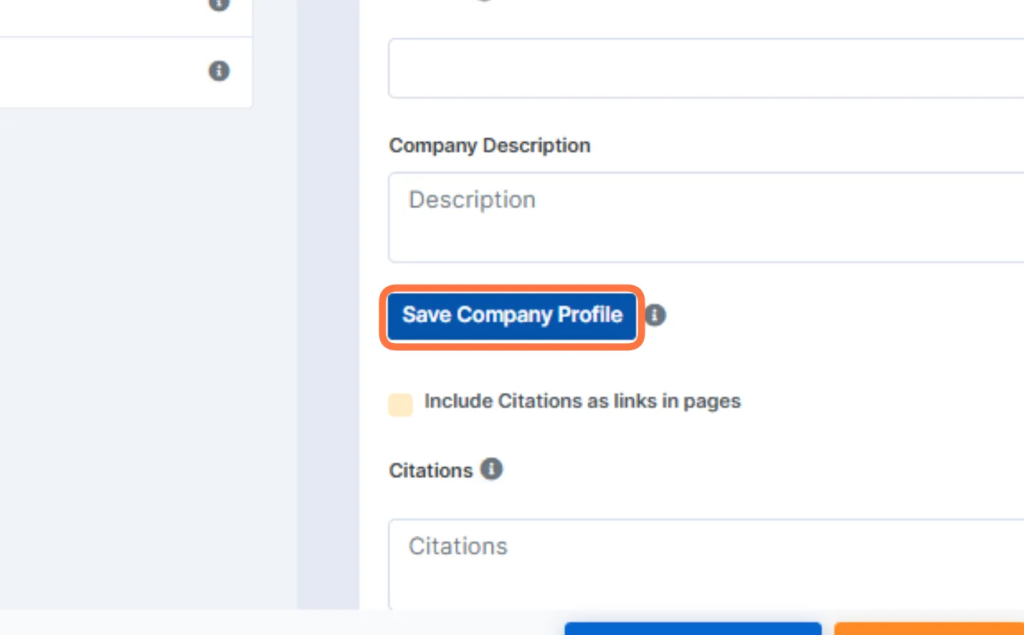
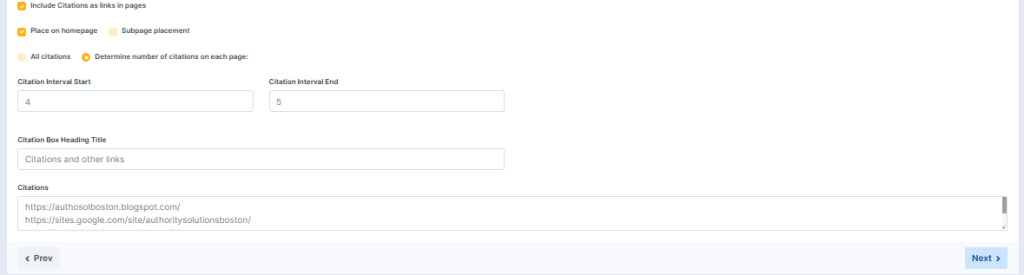
Include web 2.0 links, BrightLocal Citations, and any other relevant links.
- Headers Section:
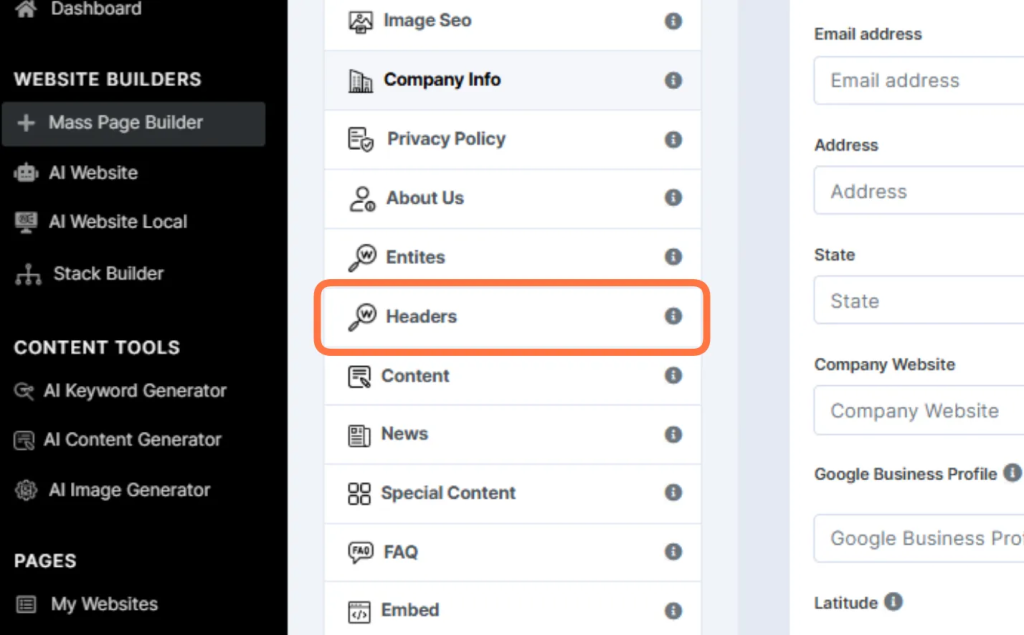
- Enter Headers 1-7 with the generated titles.
- Content Section:
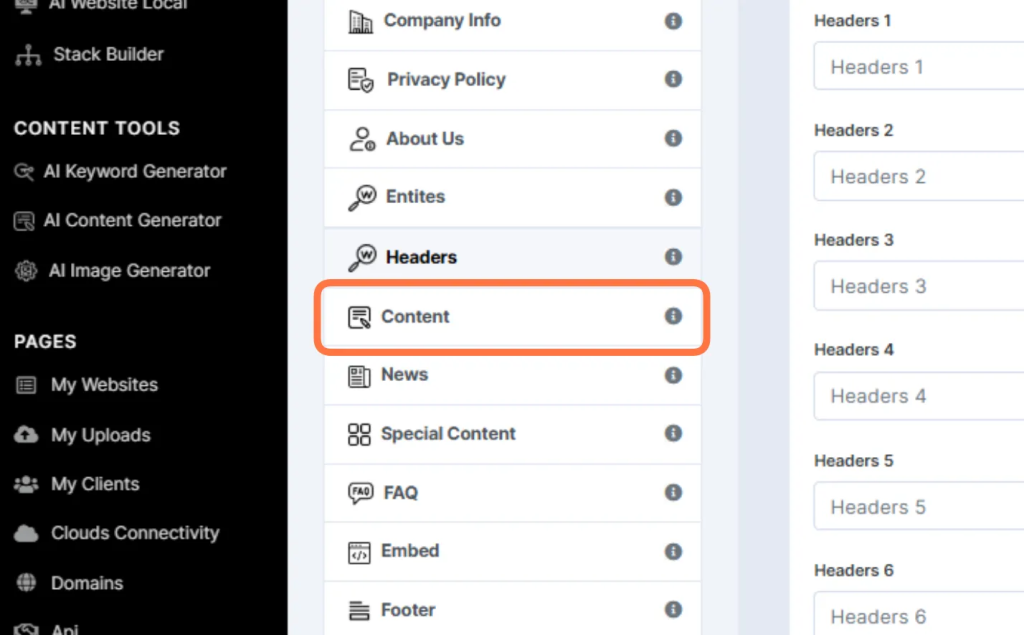
- Enter the generated content in each content area.
- Attach images and include anchor texts for the keywords.
- Embed Section:
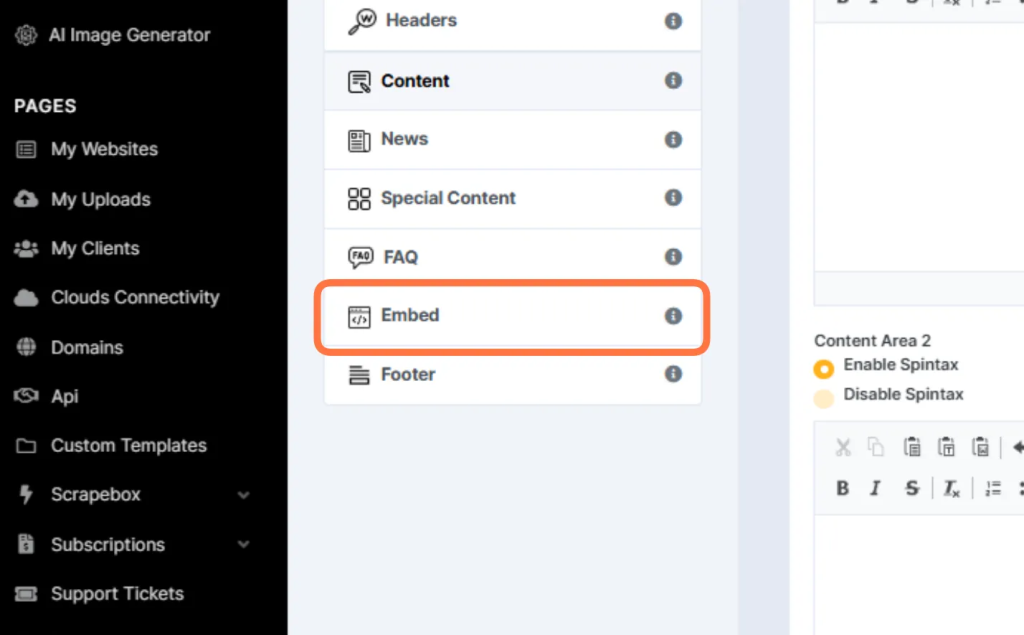
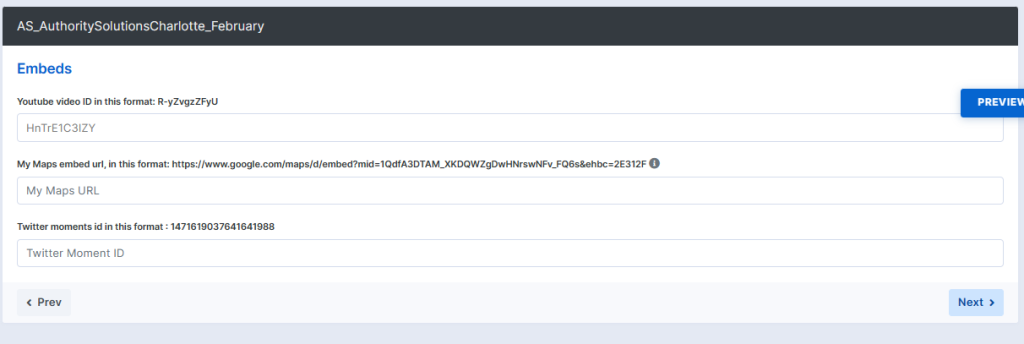
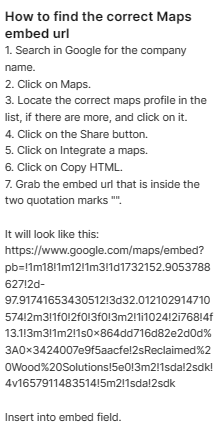
- On the embed section, enter the youtube video ID, and the Maps Embed. For the embed of maps, check out this instruction on how to get it.
- Footer Section:
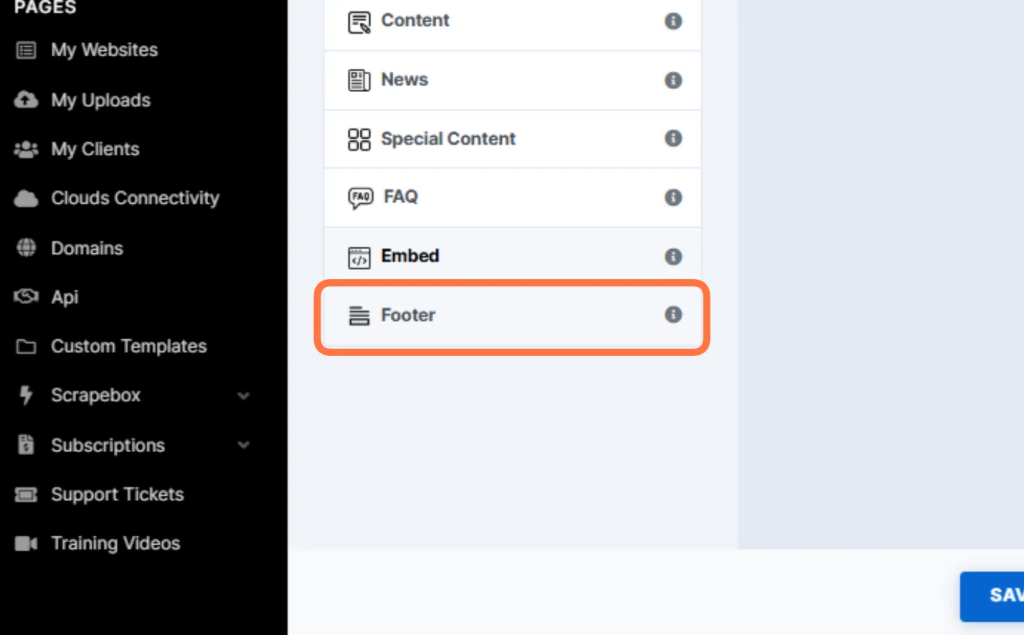
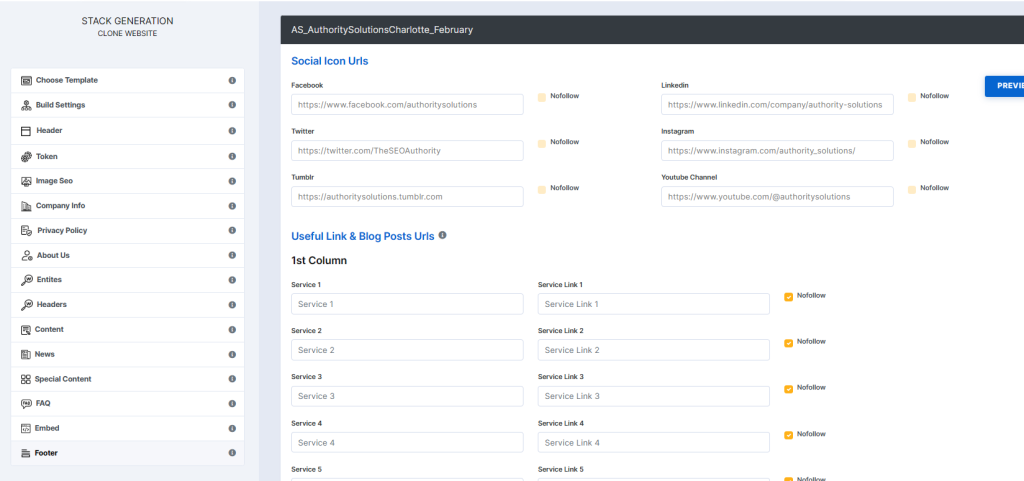
Include social media links.
Ensure the “NoFollow” checkbox is unticked for do-follow links.
Generate/Regenerate and Upload
- Click on generate/regenerate and then hover to “Upload”.
- Select a cloud to upload to.
- Choose an account, select buckets and directory.
- Name the file in lowercase with no spaces (e.g., authority-solutions-seo-services) and click upload.
- For the next stacks, go to the built stack, click “resume” or “generate”, change the header and content, add anchor texts, and upload to the next available cloud.
Once done, click on regenerate/generate and hover to “Upload” and select a cloud that you want to upload it to.
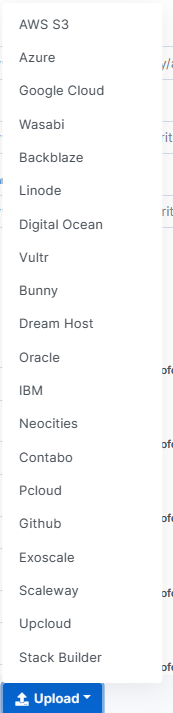
Choose an account, select buckets and directory. Name the file in this format with no capital letters and space “xxxx-xxx-xxxxx” (e.g. authority-solutions-seo-services). And click upload. For the next stacks, Go to that stack that was built and click “resume” or “generate”, change the header and content and add anchor texts, and you can upload it to the next cloud available.
Important Notes
- Save the company profile if it’s a new client.
- Untick all sections with the “NoFollow” checkbox to ensure do-follow links.
This is the SOP for generating mass page websites. Follow these steps meticulously to ensure consistency and efficiency.
FOR AUTOMATED STACK:
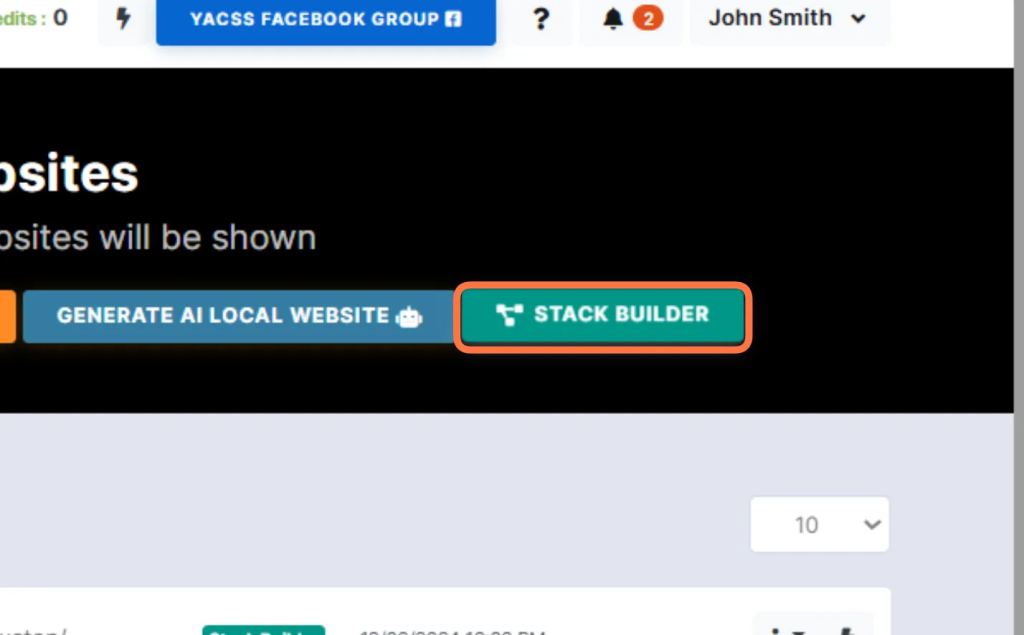
- Select “STACK BUILDER” under “My Websites”.
- Diagram Builder Section:
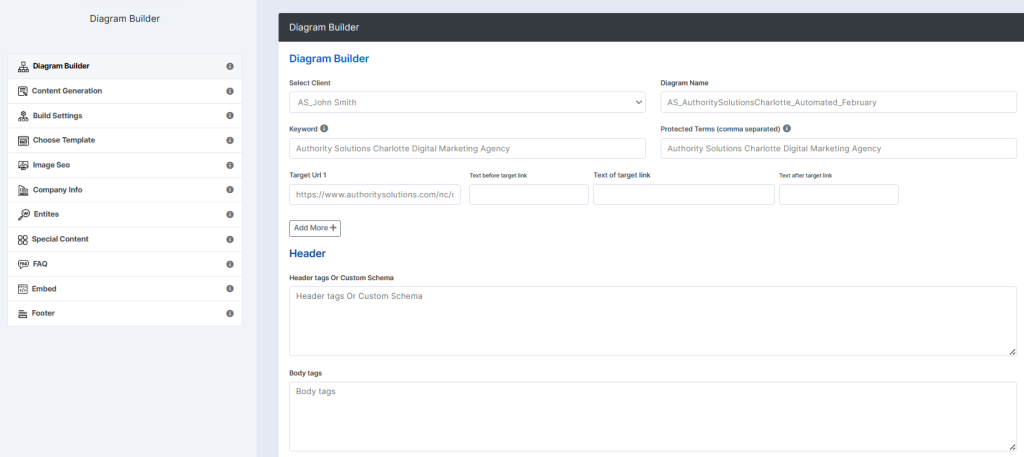
Fill out the following sections with the corresponding information:
- Diagram Name
- Keyword
- Protected Terms
- Target URL
Below the section, there is a cloud list that looks like this;
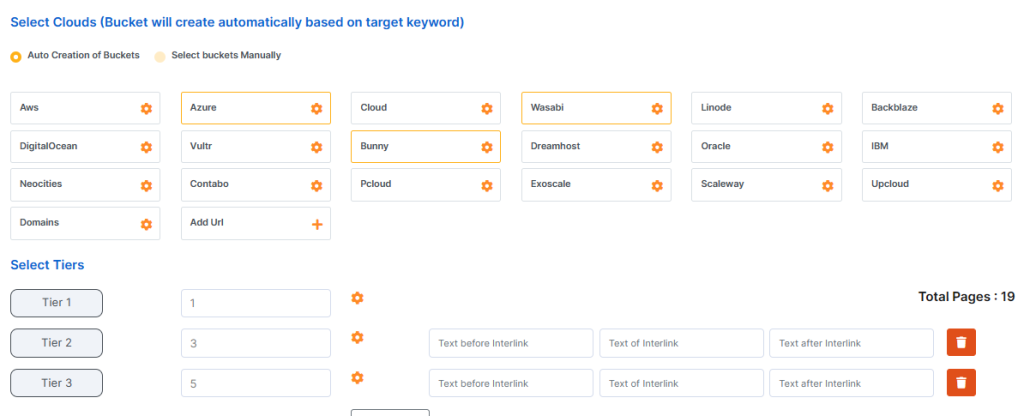
Cloud List Configuration:
- Select the active clouds available.
- Set the tier section as follows:
- TIER 1: 1
- TIER 2: 3
- TIER 3: 5
- Total Pages: This configuration will result in 19 total pages for the automated stacks.
- Content Generation Section:
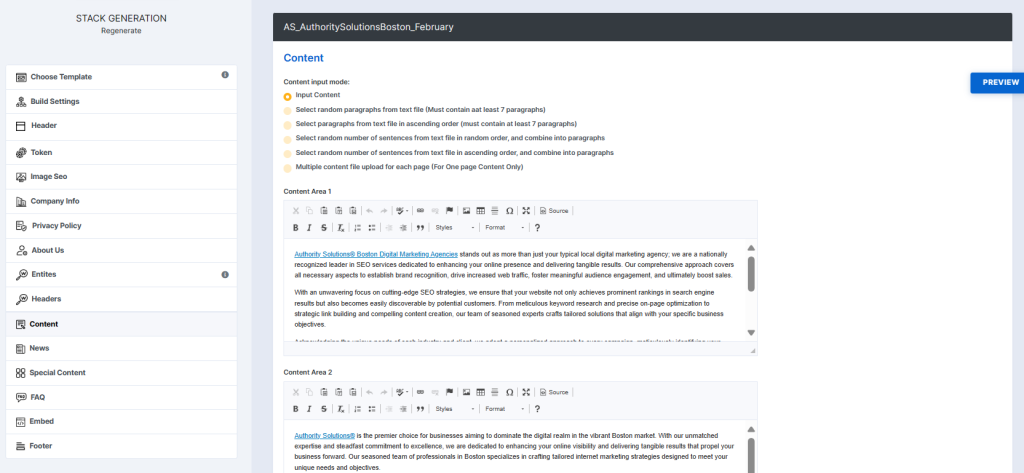
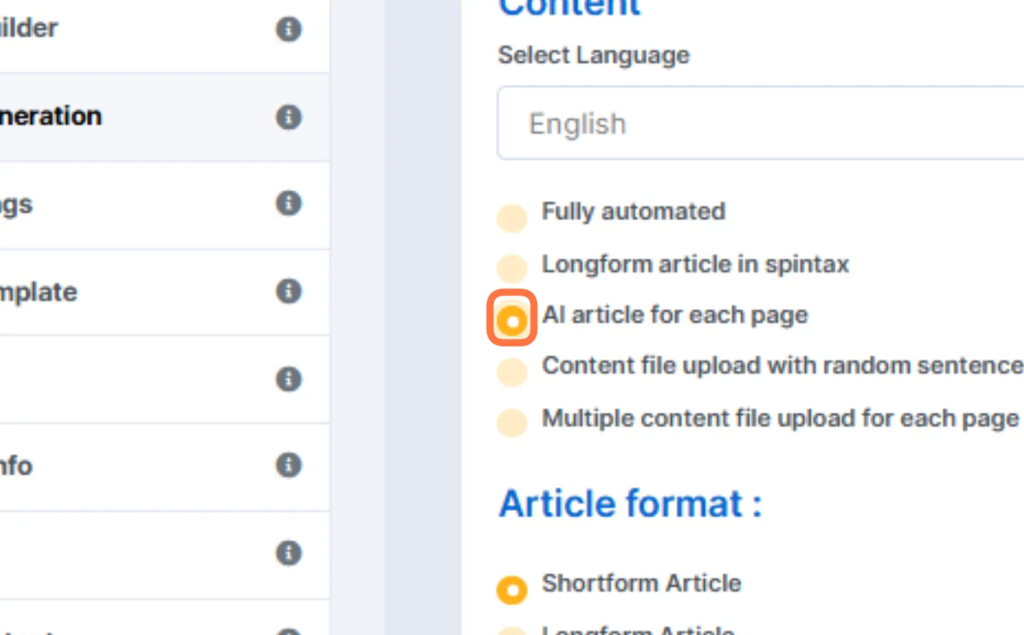
AI Article for Each Page:
- Article Format: Use a random number of shortform and longform articles.
Meta Title Section:
- Enter 19 keywords gathered from the client’s workbook.
Meta Description Section:
- Select “Unique Each Page”.
- Enter a “Spintax” version of the meta description created with ChatGPT in the blank space provided.
- Build Settings Section:
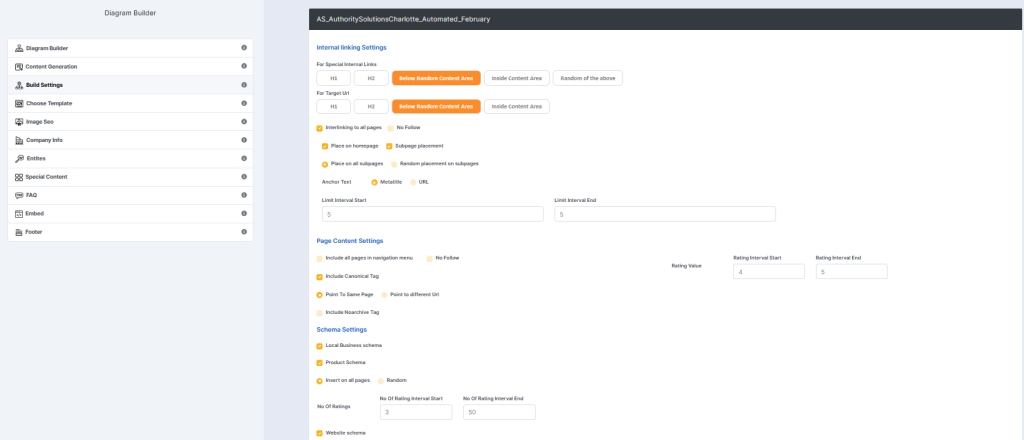
- Follow these settings as per the manual instructions.
- Choose Template Section:
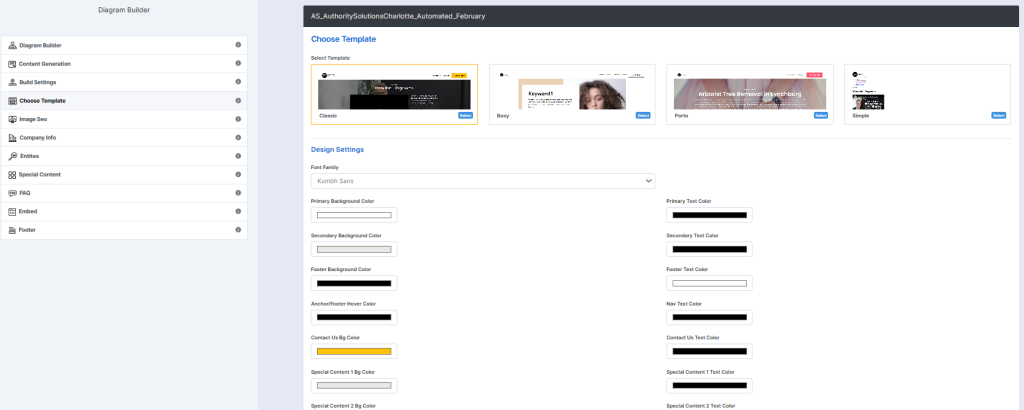
Select the color settings that mirror those on the client’s website.
- Image SEO Section:
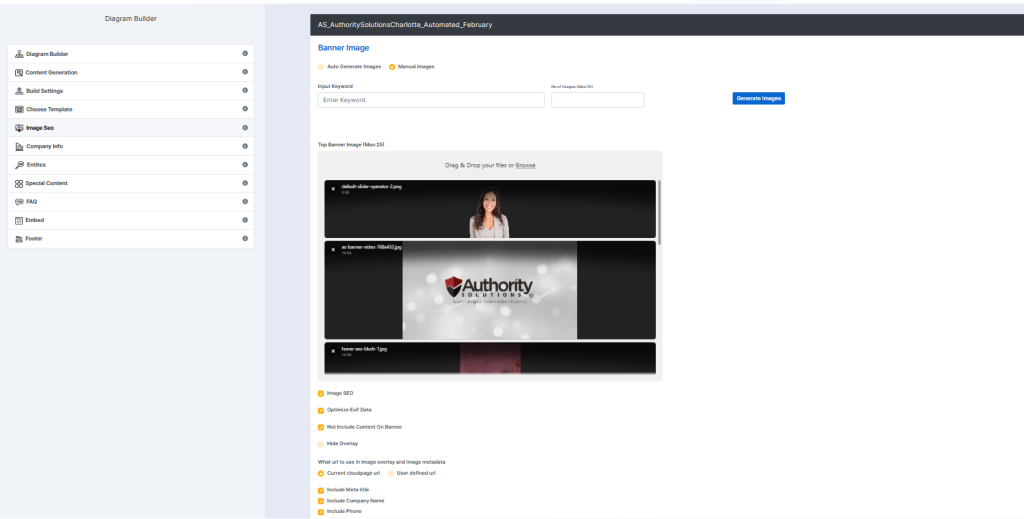
Choose “Manual Images”.
- Upload the images used on your manual stacks to the automated one.
- Company Info Section:
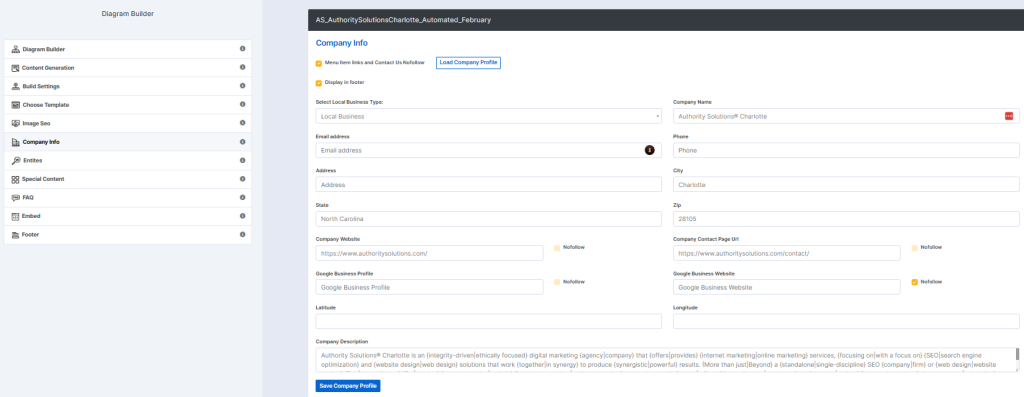
Enter the same information as the manual one, excluding email address and phone number.
As for the citations Section, Include links to your Manual Stacks that you generated.
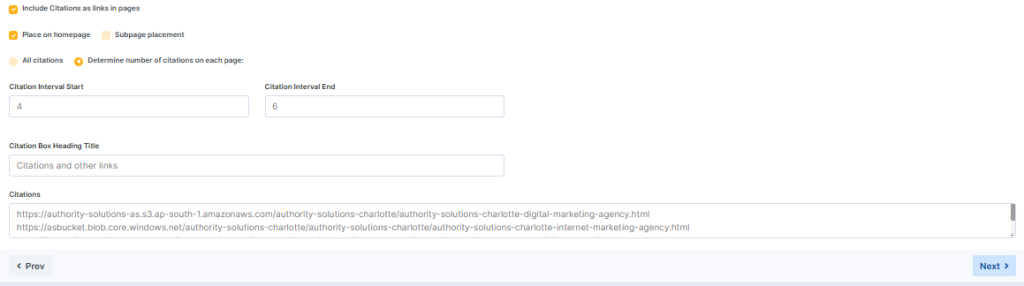
- Embed Section, Footer Section:The same as the manual one. Enter the ID and the links for socials
Enter the ID and the links for social media as per the manual settings.
Final Steps
- Click “Generate” and wait for the process to complete.
- Download the .csv file once the generation is finished.
- Gather the links for both manual and automated stacks and place them in the Local/Social Buildout Sheet named “YACSS_PAGE” (e.g., YACSS_SEO).
- Submit the links to Omega Indexer for indexing.
- Add the links to the indexation sheet for tracking.
By following these organized steps, you can ensure a smooth and efficient process for building and managing your automated stacks.
6.3. Tools and Resources
- Chat GPT
- YACSS Sofware
- Cloud Accounts (Setup per client)
- Keyword list on Clients (Workbook)
- You can put the keywords here for tracking: https://docs.google.com/spreadsheets/d/17yMdPzVzNt4dmidGD0eaEHDl4Rrn0PYe7J5uJX6b9XM/edit?usp=sharing
- Content Section:
In this section, enter the content that you made. Make sure that there are:
– Anchor texts included
– The links on every cloudpage that you will be generating must not be duplicate. For example, the keyword “SEO” and “Web Design” should not link to 1 similar url. There should be different URLs for each of them.
NOTE: 1 unique URL for anchor text per cloudstack
7. Safety and Compliance Measures
Applicable Regulations:
- Make sure that the anchor texts and link on a single stack is just one link per page
8. Quality Control and Evaluation Metrics
Performance Indicators:
- Successful Uploading of Cloudsites
- Indexation after 3-5 days
9. Exception and Problem Handling
- Cloud Errors – Reach out to cloud support for fix or submit a ticket on YACSS site
- If in the automated stacks, there are errors on clouds when generating, just deselect clouds that have errors in them
10. Documentation and Record Keeping
Documentation Requirements:
For the Indexing Sheet: https://docs.google.com/spreadsheets/d/127eTDPfRkUQBBZpdQaYM8HpIFuXJCWuy58UIyxjLGz4/edit?pli=1#gid=775276360
Put all Generated links in here for our tracking purposes
For our tracker:
Put all your finished work here for tracking. M – Manual, A – Automated, Keywords: Put all the keywords here
11. Procedure Review and Update
Review Frequency:
- One time setup, do one set of stacks for each of the focus pages (Manual and Automated)
- Do updates if necessary or instructed by Mitchell From or Zachery Brown
- Automated Stacks cannot be edited